

(Above)Rinser valve
With our apartment reaching it's fifth year since renovation, wear and tear of certain items have set in so it's always good to keep aside some spare cash for on and off perodic replacement of these worn out items in the apartment.
Recently, we had to replace our rinser valve in our common bathroom.The valve just started leaking and soon became a full blown water spout flooding the common toilet floor until I shut off the main water supply valve outside our apartment. The cause was the rinser valve switch that usually holds back the water supply had failed and water was just flowing out.

(Above)Remember to turn off the main water supply valve tap and watch where the pipes run to identify which is your valve tap. Don't turn off your neighbor's valve by mistake.
We initially wanted to call a plumber but with some advice by Gayle's dad,we were advised to save ourselves from a potentially expensive bill and try to see if we can DIY to fix it ourself. Based on his advice, we went to Sim Siang Choon to purchase a rinser valve for less than ten dollars.
We also got a new hand rinser spray for about $35 ( bought a top of the line model with better feel and hardier trigger)to replace the current one that was dripping excess water. this meant the rubber lining had worn out and that was why water was dripping out. The current rinser was removed and then Eugin used a wrench to remove the defective rinser valve attached to the common bathroom waterpipe.

(Above)Removal of defective rinser valve using wrench.

(Above)Rusted screw grooves of the defective rinser valve

(Above)New and shiny screw grooves of the new rinser valve
After it was removed, the screw groove of the opening to attach the rinser valve was wiped and cleaned dry of recess water.

(Above) New rinser valve screwed back with PTFE Thread seal tape (white tape seen)wrapped around the screw grooves where the hand rinser spray hose attaches on.
The new rinser valve was then screwed onto the screw grooves of the opening. Prior to that, Eugin covered the grooves with PTFE Thread Seal tape to prevent water seepage. This was also done to the screw grooves of the rinser valve where the hand rinser spray hose attaches on.

(Above) PTFE Thread Seal tape. Bought from hardware shop.

(Above) Old hand spray rinser
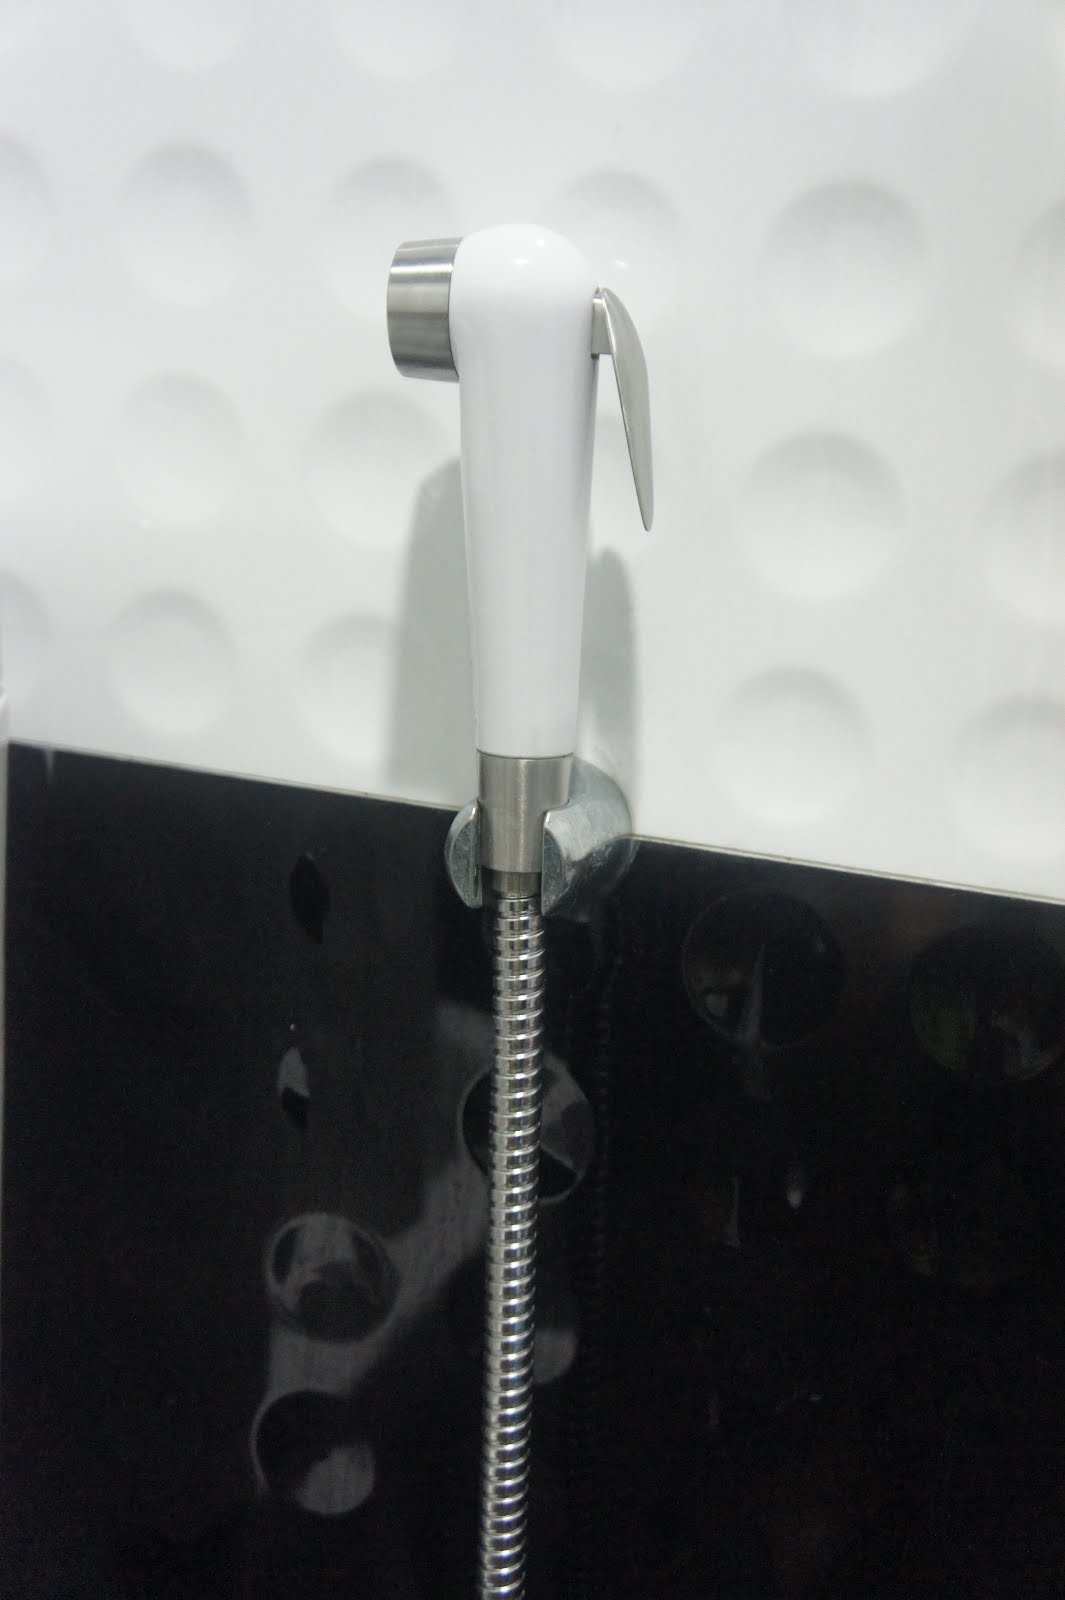
(Above) New hand spray rinser

(Above) Fixed rinser valve. As good as new.
Thereafter the main water supply valve was turned on and the rinser worked as good as new once more. A solution that cost us less than $10. Thanks to Gayle's dad advice.
A week later, the bin chute cover jammed and this time we had to call in the experts as this was not DIY possible since it involves removing and taking out the whole bin chute cover. We were told that the latch design of the current bin chute covers with their locking device was prone to jamming due to wearing out of the spring and latch.
We called a contractor from C.BOREALIS Consultancy & Marketing Pte Ltd as he charged among the cheapest for $190 for a new bin chute cover with features such as self-closing, insulation to keep out smell and water during chute cleaning, non corrosive stainless steel and fire rated. The insulation also prevents banging and damaging of the bin chute cover should you lose grip of the bin chute cover when opening.You can call them at 92704493 if you need a bin chute cover.


(Above)Newly installed shiny chrome plated bin chute cover.

(Above)Chrome finishing even on the inside.
Service was prompt and the installer arrived earlier than appointed time. The whole removal and installation took over 30 minutes.
No comments:
Post a Comment