Welcome to BLISSNDREAMS! We hope to help visitors take away knowledge on home renovation,marriage and living.We offer opinions to help you make your own informed decisions. If you find this blog useful,do recommend our blog to others.This blog is also for ourselves to celebrate our own journey together in this lifetime of bliss together.If you have any questions,we will try our best to answer where possible for us to recall. Email blissndreams@yahoo.com.sg Cheers Eugin & Gayle
Sunday, October 21, 2012
Authentic Napalenese food in Singapore - Gurkha Palace
We drop by our favorite Napalese food joint in Singapore - Gurkha Palace, a modest home feel airconditioned eating place located at 51 Chander Road, S(219548). The naans here are really good- soft fluffy and especially pur favorite, rich aroma of the butter and garlic naan. For 2 persons, 3 naans will be just nice which are cut up in convenient pieces and served to you. The naans take some time to cook which can range from 20 to 30mins depending on crowd but is piping hot and fresh. Also, for starters, you will be served with pappadum dipped in mint sauce.
(Above)Pappadum fresh crispy and warm - a good start.
(Above) Mint sauce for dipping the Pappadum
(Above)Fragrant and savoury butter and garlic naan.
(Above)Palak Paneer
(Above)Mutton Masala -
We usually order main dishes of Mutton Masala ( mutton cubes cooked in spicy gravy with onions and green chilli ) which are good dips for the naan.This is a little spicy which we like for the kick, yet it is not too hot for the stomach and throat. But still, taste varies and those that are sensitive to spiciness, do avoid dishes that are spicy.
We also ordered a vegetable dish called Palak Paneer (Fresh home made cottage cheese cooked with spinach) whose fragrance and milder taste offset the spiciness. Cheese is mild tasting so do give it a try, The cubes of cheese taste and have a texture like toufu if you did not know they were cheese.
The next order was for a very tasty serving of ladyfingers called Bhindi Do Piaza (Ladyfingers cooked with onion, tomatoes and spices)and the unique thing is there is no usual sliminess of cooked ladyfingers. This tasted so nice that we forgot to take a picture of it.
A meal for two with plain cold water ( the best drink so that you can savor the taste of the food) costs about $32 with taxes.You can refer to their website at -
http://www.gurkha-palace.com/
AC Schnitzer Type IV rims fitted to F20 BMW 116
(Above)AC Schnitzer Type IV Rims fitted on car
It was my good fortune to be recommended to Dave by a fellow BMW forummer who had bought excess stocks of tyres and rims from Performance Motors during their clearance sale a few years back. Wanting to clear his stores, he initiated a fire sale of his stored items, including original AC Schnitzer Type IV rims at an incredible price of SGD$1000 for 4 rim pieces brand new in box complete with air valve, caps and sealed ACS silver star centre cap inclusive of installation labour charges.
(Above)Brand new in box upon delivery by Dave
These rims if you do a search on the internet sells for US$589 per piece and when it was sold by Performance Motors, the authorised agent for BMW in Singapore which at one time held the distributorship for AC Schnitzer rims in Singapore sold it for SGD$900 per rim. Weighing about 10kg per rim, these rims when fitted to my F20 resulted in noticeable improved take off at traffic lights and also fuel consumption improved by about additional 40 to 50km more from full to empty tank based on urban driving. Finished in silver, these rims although not the latest ACS models still retain the classic subtle sporty look and add an attractive contrast colour to the mineral grey body colour of the car.
(Above)Closeup of BBS stamp - ACS Type IV rims are manufactured by BBS
(Above)Rims are made in Germany, unlike many branded rims these days that are outsourced to China or Taiwan.Certain BreYXXY rims made in Taiwan have had cracked rims due to poor quality control.
(above) Close up of Rims with ACS silver star cap and ACS decal on spoke.
Sunday, September 9, 2012
Wedding Anniversary Lunch and Dinner
(Above)Gayle enjoying her meal at Serenity
We celebrated our Wedding Anniversary with a nice French lunch at Bistro Au Petit Salut at Holland Road and a flavourful Spanish dinner at Serenity at Vivocity. Bistro Au Petit Salut offers value for money authetic French set lunch with starter, main course and dessert with free coffee/tea at about $33 per pax after taxes.
(Above)Half dozen baked Burgundy snails with tomato fondue and garlic butter as starters, soft tender wth no after taste.
(Above) Main course of “Minute” of onglet beef with French mustard jus and mashed potatoes if you ould like a meaty meal.
(Above)“Gateau Au Fromage Blanc” or Homemade cheesecake with Madagascar vanilla beans
(Above) Choux buns with vanilla ice cream,warm chocolate sauce and sliced almonds
Sereity is more expensive at about $50 to $70 per pax but you get to taste wonderful Spanish food which just sits very well with your taste buds. For starters, we had a rich and really invirogating soup known as Sopa Catalunya or Spanish clear soup with pork, beef, chicken and butter beans. The meat boiled for long periods to give the soup it's rich and addictive taste just falls apart in your mouth.
(Above)Sopa Catalunya
(Above) Closeup of the ingredients in Sopa Catalunya
After this hearty soup which we never fail to miss when we dine at Serenity,we continued with crispy but yet soft and moist inside deep fried Spanish prawn cakes called Bunuelos de Gambas
(Above)Bunuelos de Gambas
(Above) Soft and moist sweet insides of the Bunuelos de Gambas
Next on our order was sinfully rich Paté Con Cebolla Caramelizada or Foie Gras with caramel onion which melts in your mouth wth the sweetness of the caramelized onion.
(Above)Paté Con Cebolla Caramelizada
This was followed by the main course of Paella de Marisco (Seafood Paella)with hearty servings of herb infused fragrant Bomaba rice cooked slowly over the stove for 45 minutes with servings of tiger prawns, squid, half shell mussels, dory fish, capsium.
(Above) Paella de Marisco (Seafood Paella)
Reverse Camera retrofitted to BMW116i
(Above) Reverse camera module and camera unit and audio, video wiring.
For greater safety awareness when reversing and to watch for any obstruction that are at the blind corners of the 4 rear sensor fan shaped proximity range, we decided to install a reverse camera tha is retrofitted to display on the OEM i-drive display in the F20 BMW 116i.
We went to Soundwerkz, a car audio workshop located at Sin Ming that is familiar with BMWs. This was very important as the rewiring works for the reverse camera requires a seasoned installer who is experienced with BMW electronics to ensure less possibility of electrical faults.
(Above) Not for the faint hearted. Diassembly of console to do rewiring and installation of the video module for the reverse camera.
An experienced BMW installer is a must as it is important to take out everything carefully and install back everything to original condition.Kelvin, the boss of Soundwerkz, came down to explain to me personally the type of reverse cameras available and the featues. We decided to go with the latest model recommendedby Kelvin which displays both the camera image view and the oem park distance control optical display simultaneously on the i-drive display. This camera and video controller unit are made in Taiwan and feature high definition image, especially important for night parking or where the carpark is very dimmed. The new camera unit also features reverse guide lines and trajectory guide lines that move in relation with your steering inputs.
(Above) Reverse camera operational with parking guide lines in broken red, yellow and green lines and the trajectory steering lines in yellow and red lines moving in tandem with steering inputs. To the right of the camera image is the parking distance control icon with proximity imaging.
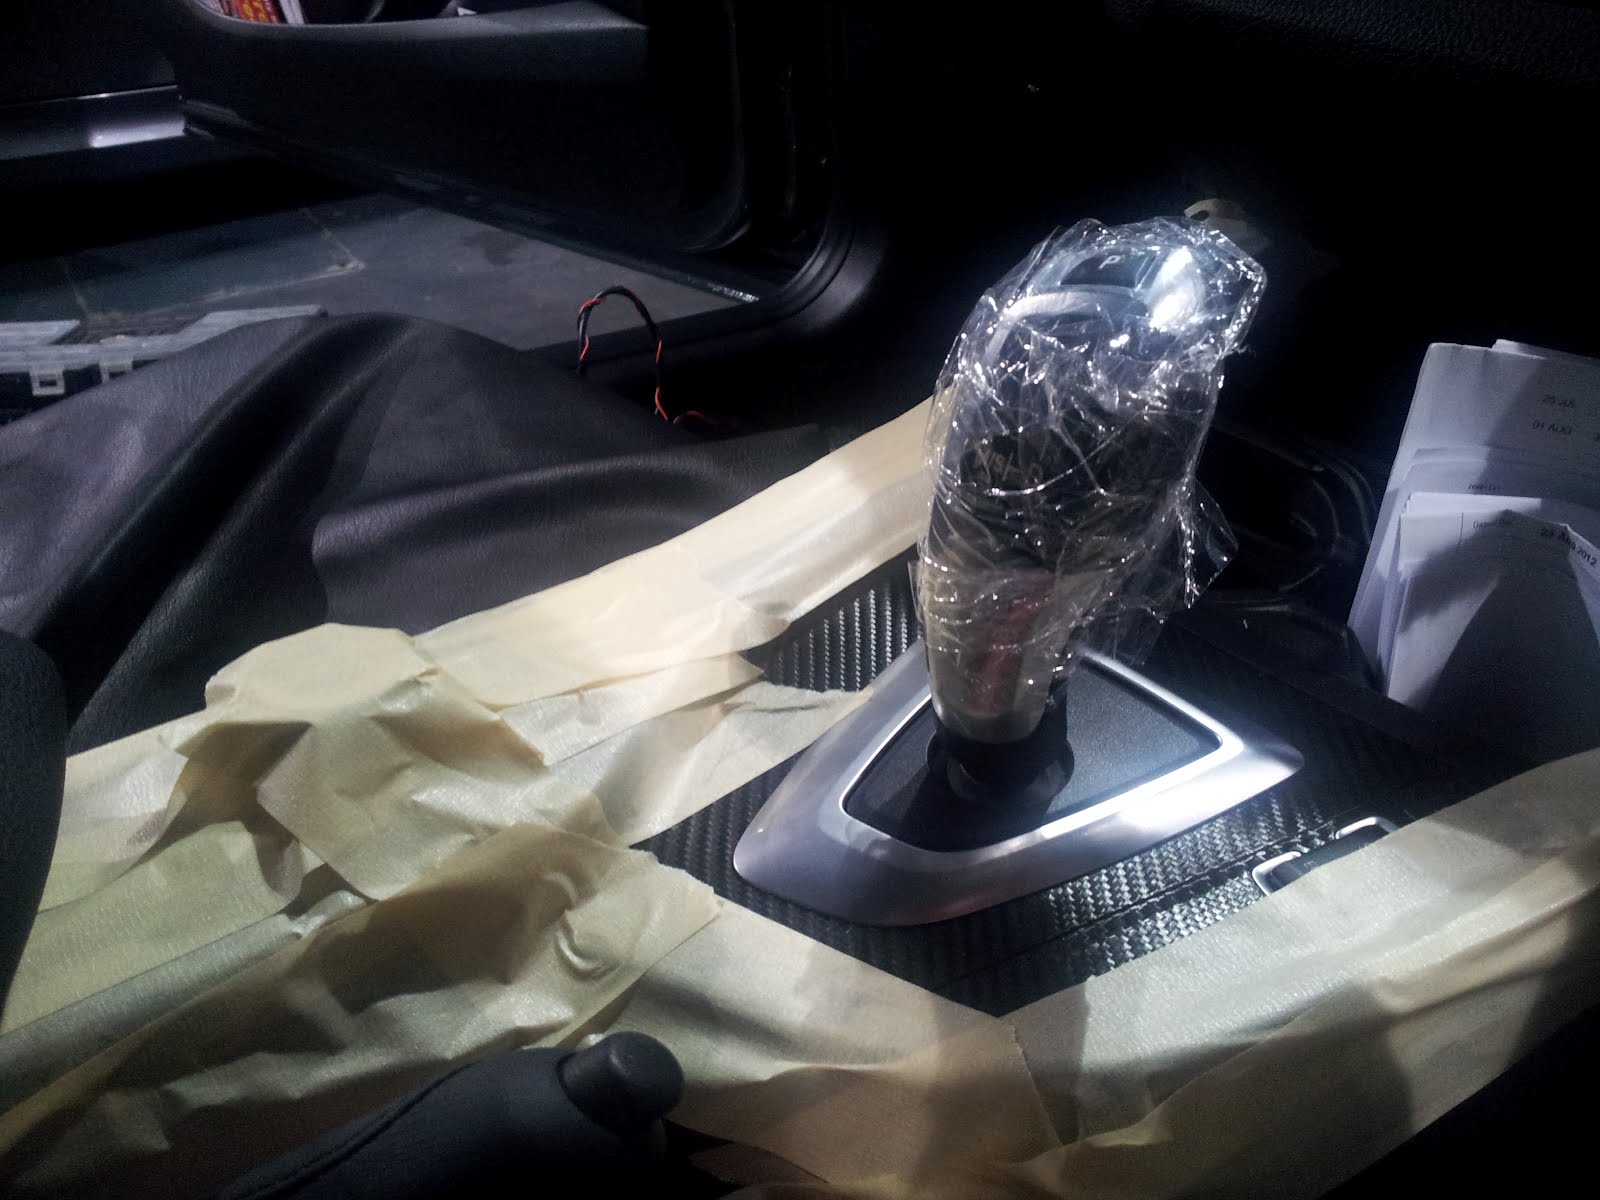
The installation started at 9.30am and ended at about 2.30pm after completion of wiring, instalation and testing. As the reverse camera is a new product, there were some inherent hang issues with the camera and on a second trip to the workshop which Kelvin and his guys diagnosed as a faulty camera unit and replaced with another new camera and so far, the reverse camera has been working smoothly. Good service from the guys at Soundwerkz. The Soundwerkz team takes care during installation and recovery phase to protect your car from unneccessary blemishes or scratches by wrapping your car interior extensively as protection against accidental scratches and knocks.
(Above) Foil wrapped interior of our car prior to installation.
Kelvin although he was busy also took time to activate source code at my request to enable the digital speedometer to be displayed on the multifunction driver's display. This is usually done at a price but it was compliementary, courtesy of Soundwerkz.
(Above) Digital Speedo display
(Above)Soundwerkz guys testing reverse camera after installation of camera unit and video module.
The camera unit cost $1100 without GST which Kelvin said was a launch price since mine was supposedly the first local BMW 116i to be retrofitted with it. This is a fraction of the OEM BMW reverse camera which costs $4800.00 and pops out of the rear hatch handle whereas our Taiwan made cheaper alternative is mounted above the license plate but no less effective and much cheaper.
(Above)Camera lens unit mounted just above the rear license plate.
Wednesday, August 29, 2012
More mickey minnie stuff for us
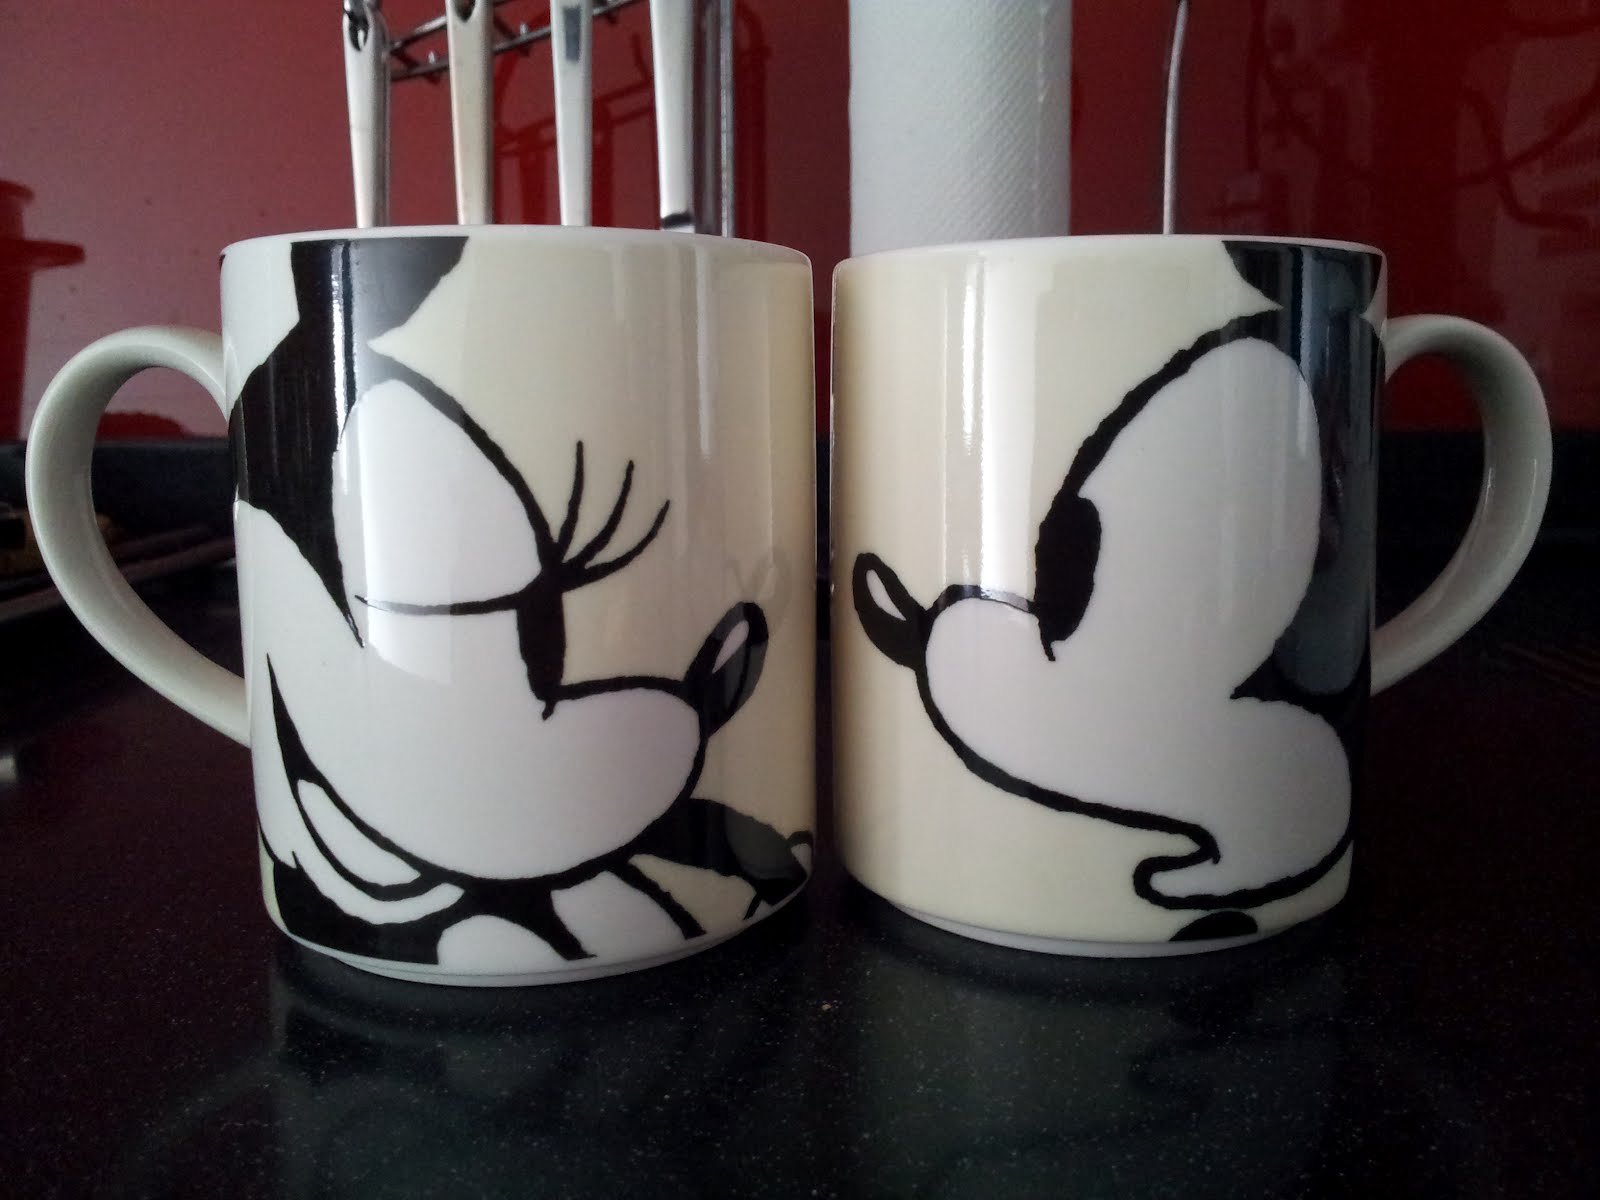
After admiring the disney products at Franc Franc at Vivocity for some time, we were glad to see a 20% discount on all the disney products and took the opportunity to buy mickey and minnie table placemat for our room dining table and cups to replace our current ones. Continuing our lookout for more good buys for mickey and minnie stuff for our home.
Tuesday, August 21, 2012
BMW 116i/118i Group meetup to assemble AC Schnitzer Sport Pedals
Over the weekend, we met up with fellow forumers of the BMW F20 116i/118i to collect and self assemble AC Schnitzer Sports Pedals that the group had bought in a group buy. Thanks to the fellow forumers espcially Les and Forestgum who taught us how to fit the sports pedals and help us with drilling instructions and show how.
For the accelerator pedal, you will need to pull out the protective seal of the locking screw at the bottom of the accelerator pedal and use a Bar screwdriver to unscrew the pedal assembly from the floor mount. Then lift the accelerator pedal assembly off and unplug the electronic processor socket. Then you will need to stick some masking tape to secure the spots pedal on teh accelerator pedal and make a marking on the 4 scew holes on the tape. After, that power drill through. Then screw in the 4 screws in the front and with washer and bolt nut securing from the back of the pedal. Then assemble the pedal to the floor mount.Use Allen key to tighten from front.
For the Foot rest, just align the entire footrest pedal on the original floor rest and drill it in. Use allen key to tighten. For the brake pedal, remove the rubber grip and expose the metal surface of the pedal. Masking tape over pedal to make a marking on holes to screw using the sports brake pedal as guide. Then drill through the pedal and mount the screws in, securing tightly with washer and bolt nuts.
Pedals were bought off ebay for around $85 inclusive of shipping costs. After that we had a group photo at the top level of the carpark where we met for this sports pedal assembly session.
(Above) The AC Schnitzer Sports Pedals installed - Footrest, brake Pedal and accelerator pedal.
Saturday, July 28, 2012
Applying cutomised decals to our Bimmer 1
(Above)James applying finishing touches to the sunstrip on the front windscreen
To add a sporty and individual flair to our 116i, we approached James from JJ Decal who is well known in the local car scene as the go to person for making and application of customised decals for cars. The design concept was to use the BWM M colours of white, grey and black. Eugin came up with the initial design for the decal and James proposed the combination of matt black background and gloss letters for the sunstrip. The sunstrip helps to provide both aesthetics and acts as a sunshade.We also did the matt black sideskirt strip to provide illusion of a sideskirt line. On the side mirror cap,we had the cap resprayed to pearl white and a grey decal stripe applied for the border of the mirror cap. At the rear hatch, we asked James to apply the gloss white strips of M Sports design. Our Bimmer 1 now looks more sporty and customised.Those interested can contact James from JJ Decals at +65 91895083.
(Above)Sideskirt decal based on M Sports design.
(Above)James applying decal transfer of the white M Stripes on the rear hatch.
(Above)Our cutomised M design Sunstrip.
(Above) Front of car with the sunstrip
(Above)Car rear hatch with the M Sports Stripes
(Above) Side mirror cap resprayed gloss pearl white with the grey decal sticker depicting the M colours of white, grey and black.
Subscribe to:
Posts (Atom)